
The Top 5 Things To Keep In Mind When Communicating Virtually
Making virtual communication feel "normal" is tough. A lot of the things we take for granted in person are ignored online - and I'm not only talking about high fives and hugs.
Every interaction with our clients or customers is an opportunity to (as I like to say) UnBrand. Done well, it's a huge opportunity - done poorly, it's a reflection of your brand as a whole. There is no such thing as a neutral brand experience.
I love tech, but I'm not an Audio/Video expert. Like many of you, a few months ago, it was someone else's job to take care of this stuff. But I am an entrepreneur, so I rolled up my sleeves and got to work learning.
Full disclosure, I have a team here:

I have no production crew, it's just me not knowing what to do.
If you want to dive deeper into tech, some great YouTube channels I learned from are listed at the end of the article.
From an UnMarketing point of view, this behind the scenes work is essential for two reasons:
- If our sound or visuals are wrong, we'll lose our "audience." Either to frustration, boredom, or Netflix.
- If our sound or visuals are wrong, we'll lose our own "focus," which will take away from our content/conversation.
Your goal shouldn't be to get the most expensive setup, but rather only what you need and optimize what you have so the content can shine.
Please Remember
Be kind to yourself and others. Improving online communication isn't about being perfect; it's about small improvements and tweaks that can help deliver your goal with more clarity. Assume everyone is doing their best and use that as your beacon. This video isn't about criticizing what you are doing now - but about small improvements that help take away common barriers in virtual communication. If I make fun of some of the scenarios, please know the only reason I know these mistakes is because I've made them personally.
You don't need to spend a lot of money or time on this to create noticeable improvements.
1. Read the room
First, let's start with the room you're in. A few important things to think about are lighting, privacy, and room size. Where you're recording is as important as what you're recording with.
I set up my little recording "studio" in our basement, which is excellent for some sound reasons, for example, it's far away from the epicenter of the house (front door/main stairs), less visual distractions and if the doorbell rings and the dog's go wild, at least it's not directly in the mic :)
The drawback of down here is the open concept design. It looks great but is bad for sound. The studio mic's we invested in substantially compensate for that, but it's noticeable going to the webcam mic since the sound is muffled, difficult to understand and focus on.
Another important part of room choice is lighting. Playing with light and camera angles, backgrounds, colours for your clothes, etc., are good ways to test out which look works for you. I've recorded about a gazillion tests to see what I like best. There isn't one "right" look - it's about figuring out what you like best and what makes you feel the most confidence to share your content. Don't get hung up if you don't have a ton of space, most of us don't. Look for a corner or a wall that you could set up for your online video or chats and make it your own. If you are mostly using Zoom, they have custom backgrounds, which are awesome if you don't want to show your space or clean your room.
For me, in the basement, there isn't much natural light, and what we do have, I mostly block out using cardboard since the time of day or clouds can all change the look of your shot and then it's not consistent, so it's a bit of an issue.
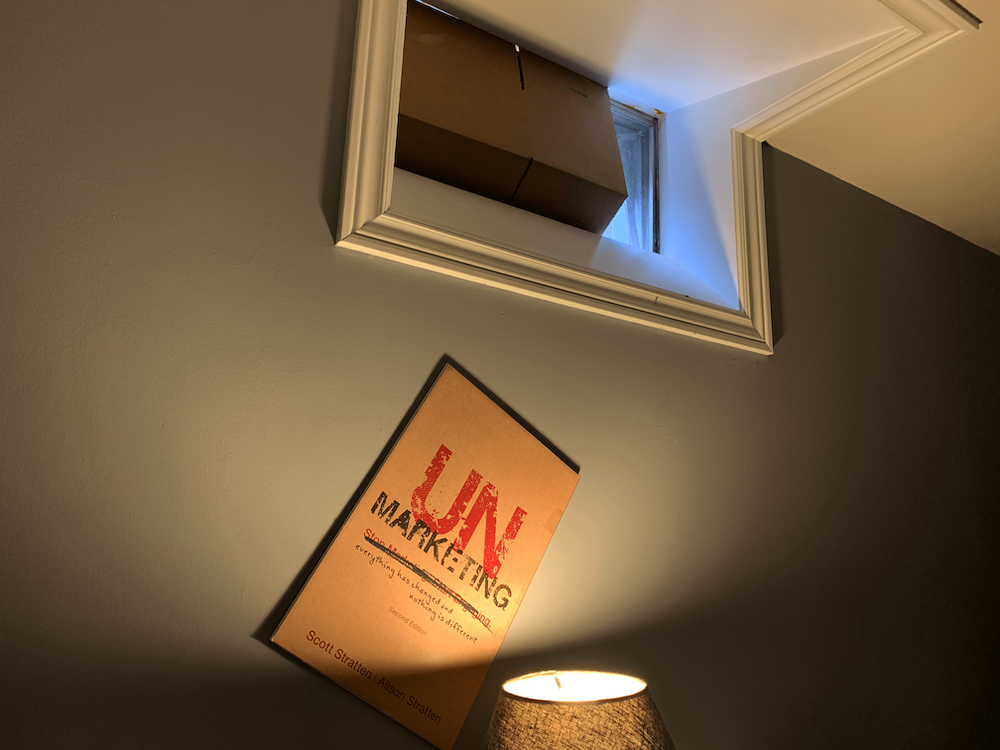
Just above the frame of the video is this window.
Natural light can be a glorious thing, and if that's your primary light source, try to keep it in front or to the side instead of directly behind. We have a ring light and the table lamp with a warm bulb, which I added when I was doing my tests.
2. Camera Placement
When you're meeting with someone in person, and they are looking down at their phone, do you feel they're actively engaged and listening? Me neither. Now, how about a Zoom meeting with a dozen people, all looking elsewhere? The thing is, we do it as speakers as well. In a virtual meeting, the speaker tends to look around at the other squares, rather than into the camera. You feel like you're talking to them, but all they see is you looking down or over, instead of at them.

Looking at people on your screen means it looks like you’re not.
When you're in person, making eye contact with the people you are talking to is a good tactic, whether it's a meeting of 3 people or a room of 100. To try to replicate this virtually, look into the camera while speaking. It does three things: make the attendees feel you're looking at them, keeps you from being distracted by looking at them, and stops you from just looking at yourself! If you want to remember this easily, your eyes should look at the camera's eye to look at everyone's eyes.
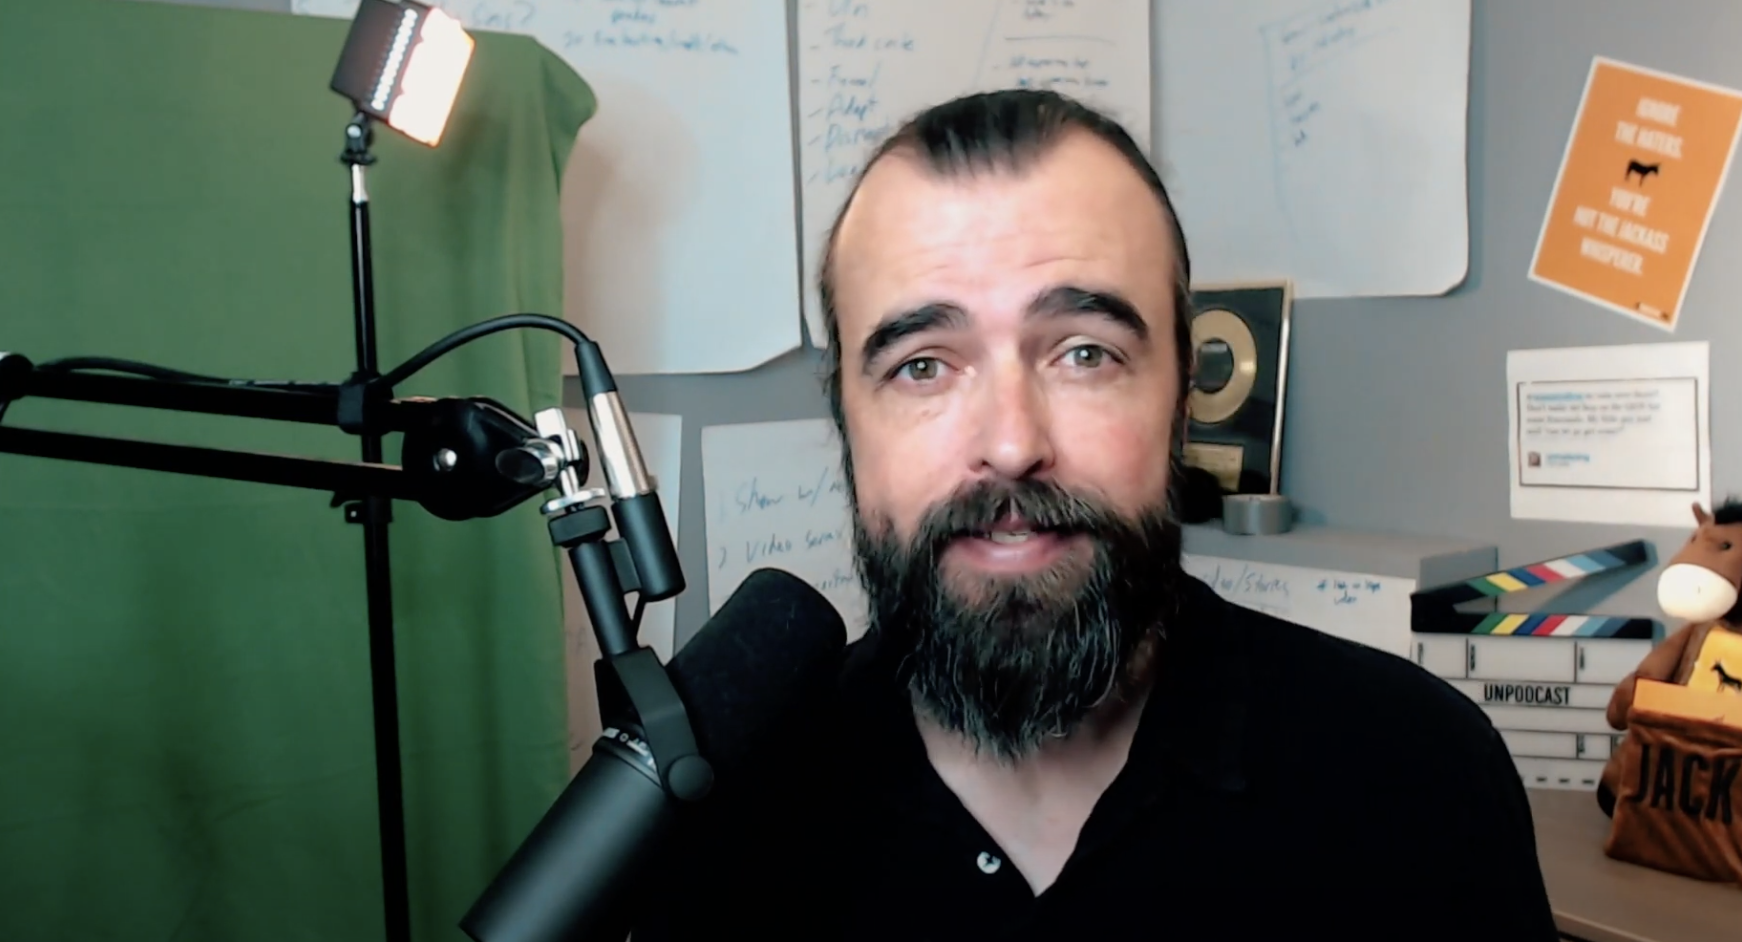
Looking at the camera means you’re looking at the audience.
We're not supposed to see ourselves. Period. I'm not talking about virtual meetings, I mean in life. If you had a live video feed of your face at all times, self-conscious would be an understatement. On Zoom, you can choose in settings "Hide,self-view," which allows you not to see yourself while keeping your video feed on for others. It's an option, not a hard rule, depending on if it's getting in the way of you delivering the message you intended. Regardless, keep in mind, most people are looking at themselves while listening, or at the stuff in the background of your shot.

A good tip to remind yourself to look into the camera is to put a Post-It note beside it and write "LOOK HERE!" with an arrow towards the camera.
If you want to be an active listener for someone else, look into the camera while they're speaking. It's counter-intuitive and takes practice, but it will help have a better virtual connection to the person watching. Even moving the window to the top of your screen as close to the camera's eye can help.
Which leads us to the camera placement itself. This costs you nothing to improve and makes a BIG difference. The camera should be fixed at eye level, which is is easier with a computer monitor already at the right height, but harder with a laptop or a phone. For a laptop, try to stack something underneath, like large books. A foot or so can make a world of difference for the viewer and make your parents happy because it's better for your posture (thanks mom).

Your camera being closer to eye level can guarantee a cheesy smile.
Today, most phones have a fantastic camera already in them, which is excellent. We hold them, and that doesn't usually lead to consistent look and sound. If you can grab an inexpensive mini tripod like this Gorilla pod, not only does it make it stationary, but gives you more placement options, instead of just placing up against something.
Also, if you want a webcam recommendation, most of the Logitech ones are fantastic and give you more freedom to adjust settings. We use the Logitech C920, and it is great and reliable.
3. Sound
Sound is incredibly important. Yes, even in a video. Don't make the mistake of ignoring the sound in yours. Good, consistent audio ensures attendees won't be distracted by irritating sounds and keep them focused on you. Good audio can be captured and repurposed for podcasting or used as a voice over for images (especially handy if you don't like being on camera yourself). Reliable audio is better for auto-transcription and close captioning. Also, many people have the meeting or webinar running in the background while they do other things or listen with headphones (putting the sound right in their ear)

Picture of our audio set-up, which is way above our pay grade of knowledge. Shure SM7B microphone which goes into the Cloudlifter pre-amp and then into Focusrite Scarlett 2i2 audio interface.
Since our main business is events, and those are all virtual right now, we invested in a fancy microphone called the Shure SM7B . It's one of the popular ones that vocalists/studios use. They have a high price tag, and if your business is talking, it's a worthwhile investment but brings you down a rabbit hole of chords, pre-amps, and audio interfaces, but wow, it's worth it.
Consumer microphones are more user-friendly and run via USB, so you usually don't need extra equipment or software. Blue is the most popular consumer brand and for a good reason. They have different levels and price points to choose from. These won't be quite as good as the Shure, but it's still really good and 100 times easier to deal with because you simply plug in the USB and start talking. Blue has a few different types, the most common being the Yeti (pictured below) and the Snowball. I've used both, and they never fail. Another nice thing about Blue is that it gives you the ability to move the gain up and down. The gain increases the signal strength, which is great to get the right audio level.

The Yeti USB-Mic. Plug it in and start talking.
Another helpful feature of the Yeti is the headphone jack. You can hear yourself in the mic as a monitor and use it as the output sound for a virtual meeting. The Yeti also has a mute button that flashes when it's activated (something that would be swell to have on Zoom) to avoid the expressive mime move while everyone gets to say again, "You're on mute Scott."
If you're not in the market to buy one or they aren't available, another choice would be the headphones you already use with your phone. Depending on the make and model, some have a decent microphone, mostly because they're close to your mouth and built for phone calls but are usually better than the dreaded included/onboard mic.
This isn't to say you can't use a built-in microphone on your computer/laptop/webcam, but those are usually add-ons and not the primary purpose of the camera.
4. Mind the connection
Many people are familiar with download speeds because of Netflix, etc., but we don't usually think about upload speeds. Talking to each other on video in real-time takes a LOT of data. It's essential to keep your internet tubes as open as possible. When I have an important meeting or virtual presentation, we turn off the wifi in the house, and I'm hardwired with an ethernet connection. I also turn off all the other programs running on my computer and suggest you do the same; You want to reboot your computer and the router beforehand.
Also, if you have your phone nearby, turn it off, so it doesn't make that sound…you know the one:
5. Get in the reps
There is no "just" in most things in business. Practice, watch, get feedback from people you trust, consider a group of your colleagues or friends to practice online together, and no matter the mistake, keep at it. You will improve.
Remember when you're thinking about virtual communication - check the room, place the camera, soundcheck, mind the connection, and get in your reps. As with all new skills, it will take some time to master, so be kind and patient with yourself, practice, and always do some kind of awkward wave when the meeting is over. Seriously, we feel like Ricky-Bobby being interviewed.
If you enjoyed this article, sign-up for the UnNewsletter below! It’s free and our one-stop-shop of new content for you.
Extremely helpful YouTube tutorial channels:
Daniel Schiffer / Film Riot / Caleb Pike / Adrian Salisbury
Oli Gardner has created an awesome new program to help with all things Zoom, Slide Design and Virtual Presentations with BeTheKeynote.com